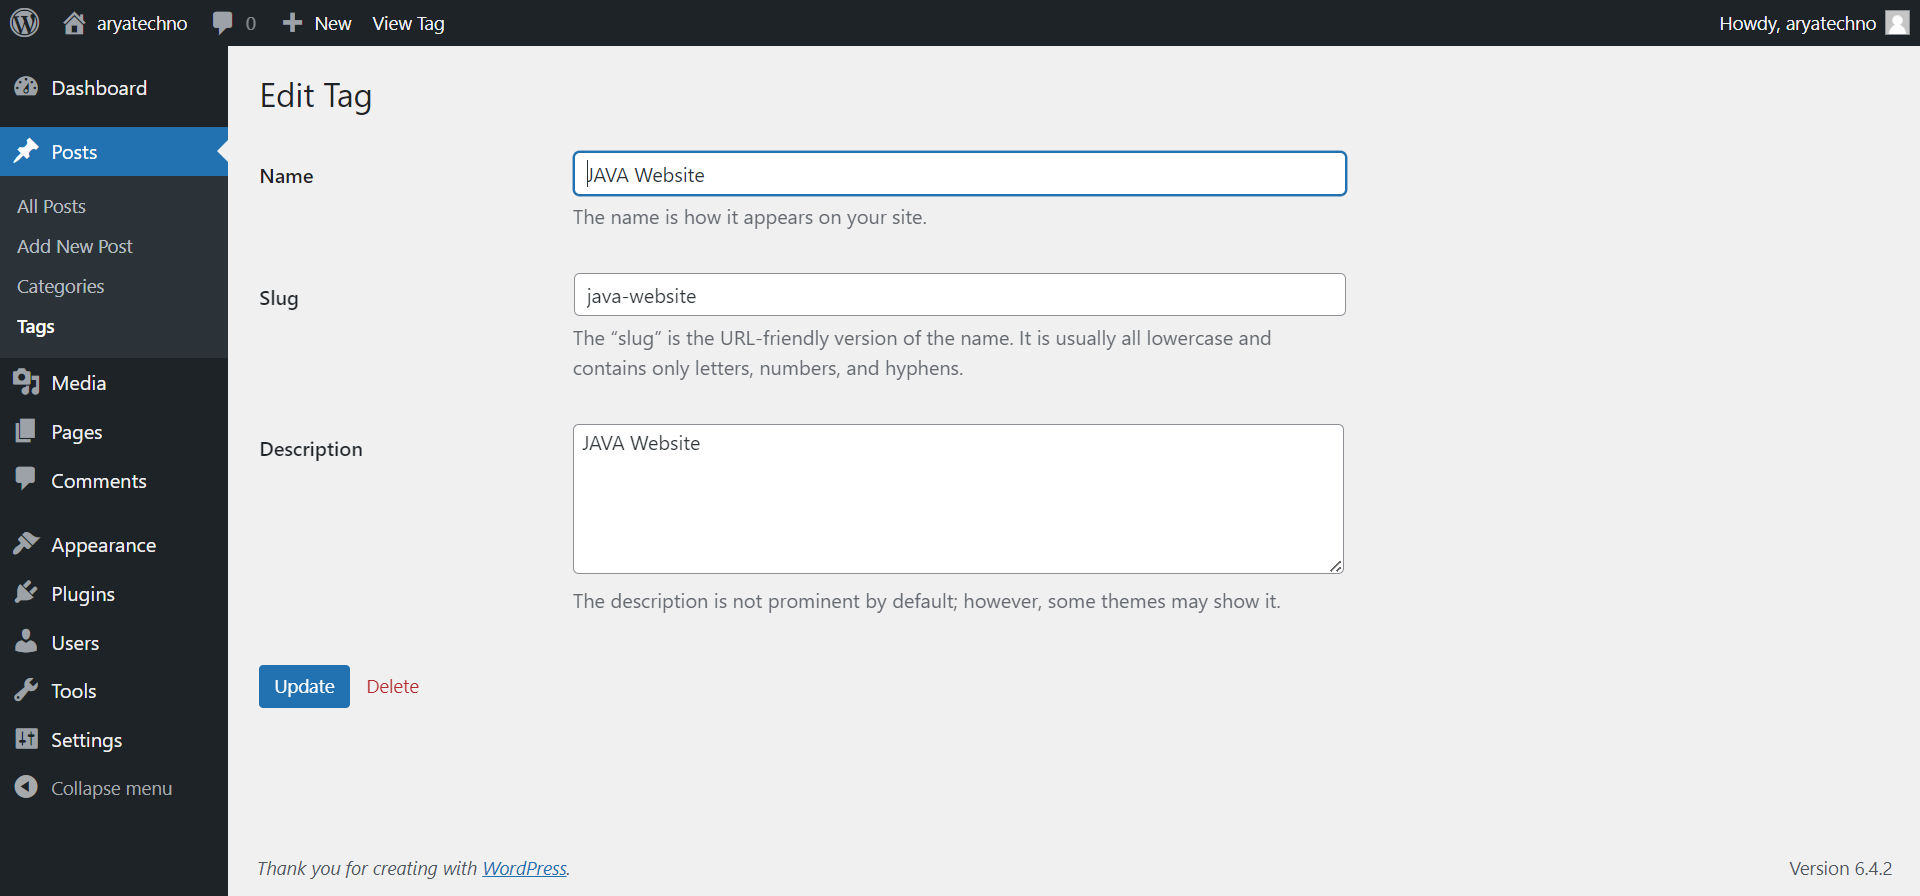
Editing tags in WordPress is a straightforward process. Here are the steps to edit tags:
Edit Tags from Post Editor:
-
Login to your WordPress Dashboard:
- Open your web browser and navigate to the login page of your WordPress site.
- Enter your username and password to log in.
-
Access the Posts Section:
- In the left sidebar, find and click on "Posts."
-
Select or Add a Post:
- Choose the post that contains the tags you want to edit by clicking on its title, or create a new post by clicking on "Add New."
-
Locate the Tags Section:
- In the post editor screen, look for the "Tags" meta box on the right-hand side.
-
Edit Tags:
- In the "Tags" box, you'll see a list of tags associated with the post.
- Hover over the tag you want to edit, and you'll see an "Edit" link.
- Click "Edit" and make the desired changes to the tag name.
- Press "Enter" or click outside the tag box to save your changes.
-
Save or Update the Post:
- After editing the tags, you can save the post as a draft, preview it, or update it if it's already published by clicking the "Save Draft" or "Update" button.
Edit Tags from Tags Section:
-
Access the Tags Section:
- In the WordPress Dashboard, find and click on "Posts" and then "Tags."
-
Edit Tags:
- On the Tags page, you'll see a list of existing tags.
- Hover over the tag you want to edit, and you'll see options like Edit and Delete.
- Click "Edit" to modify the tag name and slug.
- Click "Update" to save your changes.
If you want to make broader changes across multiple posts or want to manage tags independently of posts, you can also go to "Posts" > "Tags" in the WordPress Dashboard. There, you can edit or delete tags, as well as add new ones.


Comments