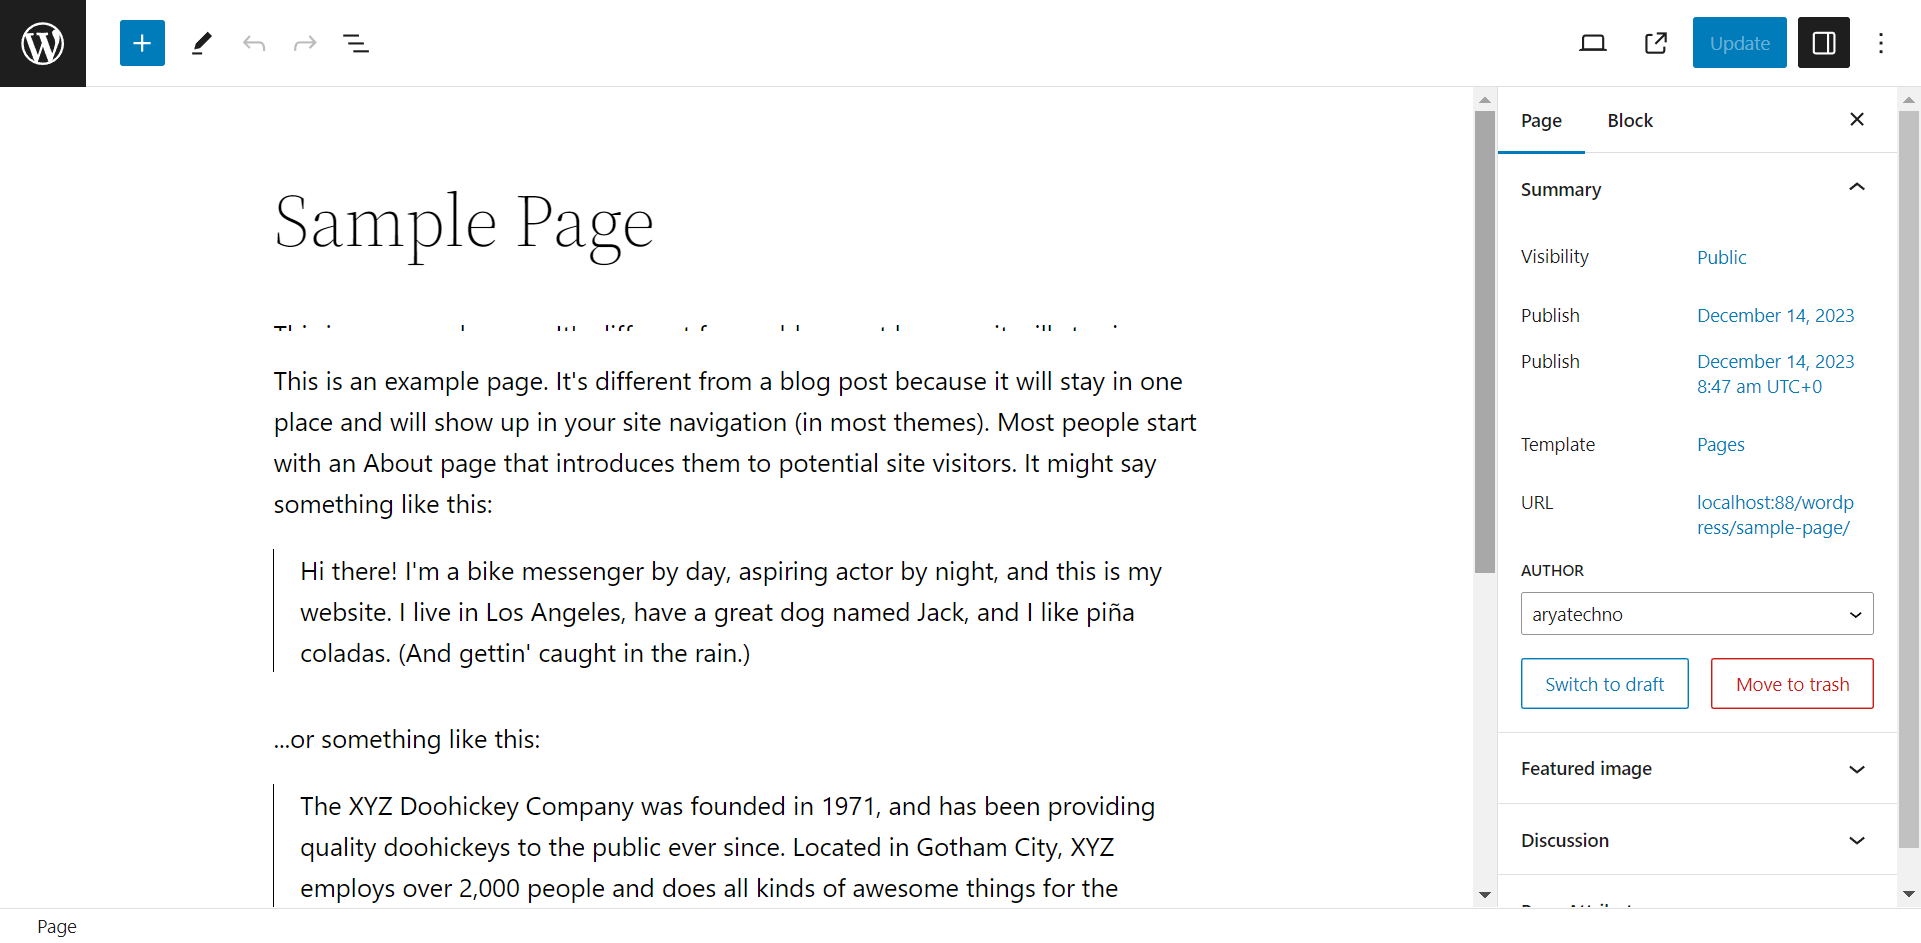
Editing pages in WordPress is a straightforward process. Whether you need to update content, change the page title, or make other modifications, here's a step-by-step guide:
-
Login to Your WordPress Dashboard:
- Access your WordPress admin area by adding
/wp-adminto your website's URL and logging in.
- Access your WordPress admin area by adding
-
Go to the Pages Section:
- In the WordPress dashboard, click on "Pages" in the left-hand menu to access the list of your existing pages.
-
Find the Page to Edit:
- Locate the page you want to edit from the list. You can use the search or filter options to narrow down the list.
-
Click on the Page Title:
- Click on the title of the page you want to edit. This will open the page editor.
-
Make Edits:
- In the page editor, you can make changes to the page content, title, page attributes, and any other details. Use the visual editor to format text, add or remove media, and update the content as needed.
-
Page Attributes:
- On the right side of the page editor, you'll find the "Page Attributes" box. Adjust or change page attributes such as the parent page or template as necessary.
-
Featured Image (Optional):
- If you want to change the featured image, click on "Set featured image" below the page editor.
-
Save Changes:
- After making your edits, click the "Update" button to save the changes. If you're not ready to publish the changes immediately, you can click "Save Draft."
-
Preview Changes:
- Before updating or publishing, use the "Preview" button to see how your page will look on the live site.
-
Revisions:
- WordPress automatically saves revisions of your page as you edit. You can access and restore previous versions by clicking on the "Revisions" link.
-
Page Status:
- You can change the page status from "Draft" to "Pending Review" or "Published" depending on your workflow.
-
Permalink:
- If needed, you can edit the permalink (URL) by clicking the "Edit" button next to the permalink under the page title.


Comments