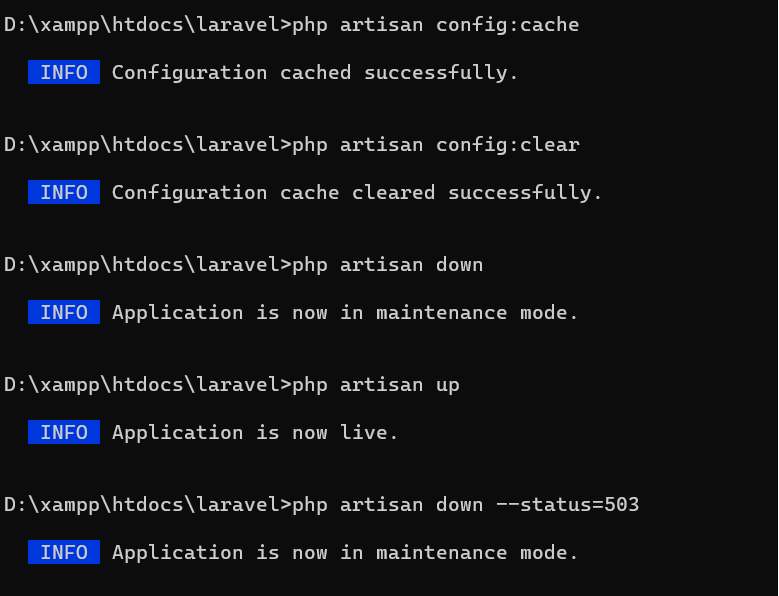
In Laravel, configuration is managed through the config directory, where you can find various files for setting up different aspects of your application. Here's an overview of Laravel configuration:
1. config Directory:
The config directory contains configuration files for various services and components used by your Laravel application.
2. Configuration Files:
app.php: General application configuration, including timezone, locale, and encryption key.auth.php: Configuration for authentication services.cache.php: Configuration for caching.database.php: Database connection settings.filesystems.php: Configuration for file systems and storage.mail.php: Configuration for email services.services.php: Configuration for third-party services like OAuth.session.php: Session configuration.view.php: Configuration for the Blade templating engine.
3. Environment Configuration:
Laravel uses the .env file in the root of your project for environment-specific configuration. Variables in this file override corresponding values in the configuration files.
4. Configuration Access:
Configuration values can be accessed using the config helper function or the Config facade.
// Using the helper function
$value = config('app.timezone');
// Using the Config facade
$value = \Config::get('app.timezone');
5. Custom Configuration:
You can create your own configuration files for custom settings. Use the config_path() helper to determine the path to the config directory.
// Get the path to the custom configuration file
$path = config_path('custom.php');
6. Caching Configuration:
Laravel allows you to cache configuration for improved performance. Use the following Artisan command to cache the configuration:
php artisan config:cache
If you make changes to configuration files, you need to clear the configuration cache:
php artisan config:clear
7. Environment Configuration in .env:
The .env file contains environment-specific configuration. It includes settings such as the application environment, database credentials, and other variables.
APP_ENV=local
APP_KEY=your_application_key
APP_DEBUG=true
APP_URL=http://localhost
DB_CONNECTION=mysql
DB_HOST=127.0.0.1
DB_PORT=3306
DB_DATABASE=your_database_name
DB_USERNAME=your_database_username
DB_PASSWORD=your_database_password
8. Configuration Caching:
To optimize the performance of your application, you can cache the configuration using the following Artisan command:
php artisan config:cache
After caching, changes to configuration files won't take effect until you run:
php artisan config:clear
9. Environment Configuration in Code:
You can access environment variables directly in your code using the env helper function.
$environment = env('APP_ENV', 'production');
10. Maintenance Mode:
Enable Maintenance Mode:
-
Open a terminal and navigate to your Laravel project's root directory.
-
Run the following Artisan command to enable maintenance mode:
php artisan down -
This command will create a
downfile in thestoragedirectory and display a default maintenance page to users. -
Optionally, you can provide a message to be displayed on the maintenance page:
php artisan down --message="We'll be back soon!"The message will be visible on the maintenance page.
Disable Maintenance Mode:
-
To disable maintenance mode and allow normal access to your application, use the following Artisan command:
php artisan up -
This command will delete the
downfile in thestoragedirectory and make your application accessible again.
Checking Maintenance Mode Status:
You can check whether maintenance mode is currently enabled by using the php artisan down command without any arguments. It will display the current status and any custom message that was set.
php artisan down
Customizing the Maintenance Page:
You can customize the maintenance page by modifying the resources/views/errors/503.blade.php file. This file contains the HTML code that is displayed to users during maintenance.
Customizing the Response Code:
By default, Laravel returns a 503 Service Unavailable HTTP status code during maintenance. You can customize this response code by providing the --status option when enabling maintenance mode. For example:
php artisan down --status=503
This command explicitly sets the HTTP status code to 503, but it is the default behavior, so it's optional.


Comments